
Introduction:
To take a screenshot on a Windows PC is a very useful trick. However, even if you are using Windows 11, Windows 10, or Windows 7, knowing how to take a screenshot helps you capture your screen easily.
In this blog, we will show you multiple methods, as well as the answer question of how to take a screenshot on Windows. Every method will be easy and apply with built-in tools, and does not require external software, but not sufficient if you want advanced features.
Why Screenshots Are Useful
Before we start the process, here is a short detail on why you might need screenshots:
- To save the necessary information.
- To take a screenshot of the error message for support.
- To share a part of a webpage with others.
- To create tutorials or guides.
- To recall settings or receipts
Screenshots make your life easier. Luckily, Windows makes it possible to capture your screen.
Method 1: Print Screen “PrtSc” Key

The Print Screen button (PrtSc) has been around for years, and it’s the quickest way to take a screenshot.
How it works:
- Press the “PrtScn key” on your keyboard.
- This copies the entire screen to your clipboard.
- Open Paint, Word, or even a chat box.
- Press this screenshot by pressing Ctrl + V.
Tips:
- If you want just the active window, press Alt + PrtScn.
- The screenshot would not be saved automatically; then, paste it and save it manually.
Process on Windows 7, 10, and 11.
2nd Method: Windows + Print Screen
If you like to save the screenshot automatically:
Here is the Process:
- Enter Windows key + PrtScn at the same time.
- Your screen will go dull for a second.
- Windows automatically keeps the screenshot in PNG format.
- You can find it by going to the pictures and then the screenshots folder.
This process is speedy because you don’t need to paste anything; it saves your screenshot for you.
Functions on Windows 10 and Windows 11.
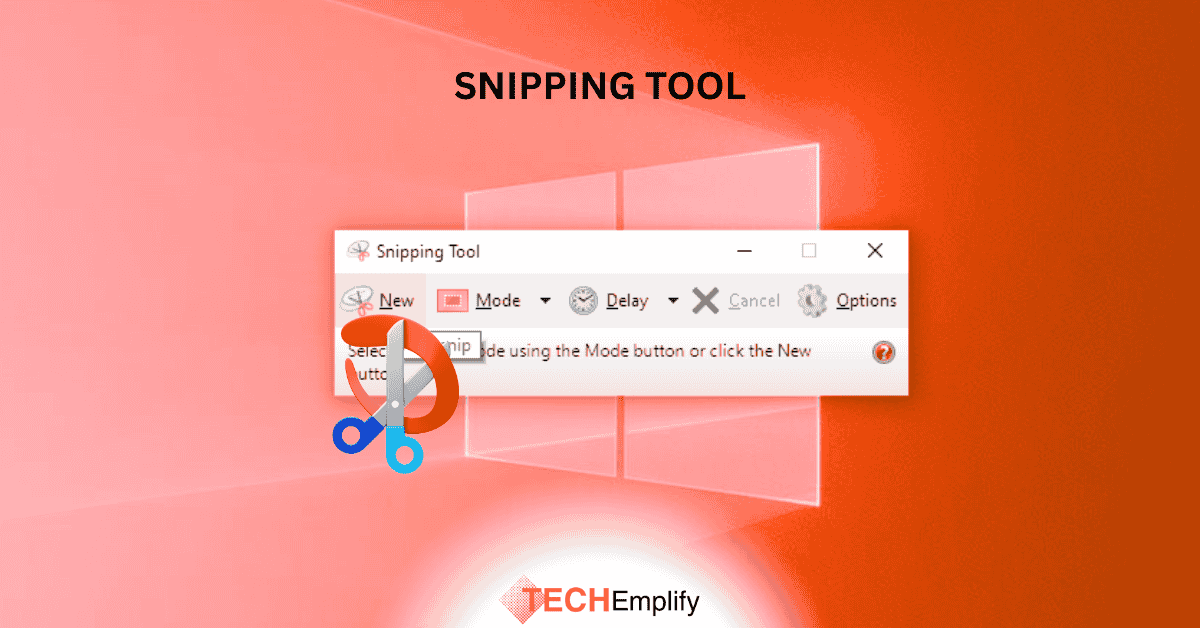
3rd Method: Snipping Tool – Snip and Drawing

The Snipping Tool is the most relaxed way to grab screenshots in Windows 10 and Windows 11.
Here is the Process:
- Enter Windows and Shift, then S together.
- Your screen will go dull, and then you can see a small toolbar at the top.
- You can choose one option:
- Rectangular snip
- Freeform snip
- Window snip
- Fullscreen snip
- The screenshot is copied to your clipboard.
- You will also see a notice to edit and save the screenshot.
Bonus Elements “Windows 11 layout”
- You can mark, highlight, crop, or erase parts of the screenshot.
- There is a delay timer, excellent for seizing dropdown menus.
- On the updated Windows 11 layout, the Snipping Tool even has new elements like “copy text from images” and a colour picker.
Best choice for those who need to edit or highlight screenshots.
4th Method: Snipping Tool
Old versions of Windows, for example, Windows 7, also have the Snipping Tool. It’s not as stylish as the new version, but it works.
Here is the Process:
- Click on the Start Menu.
- Find the Snipping Tool.
- Select the style of snip: “rectangular, free-form, window, or full screen”.
- Seize your screen.
- Save the screenshot in image format.
Functions on Windows 7, Windows 10, and Windows 11.
5th Method: Game Bar For Windows 10 and 11
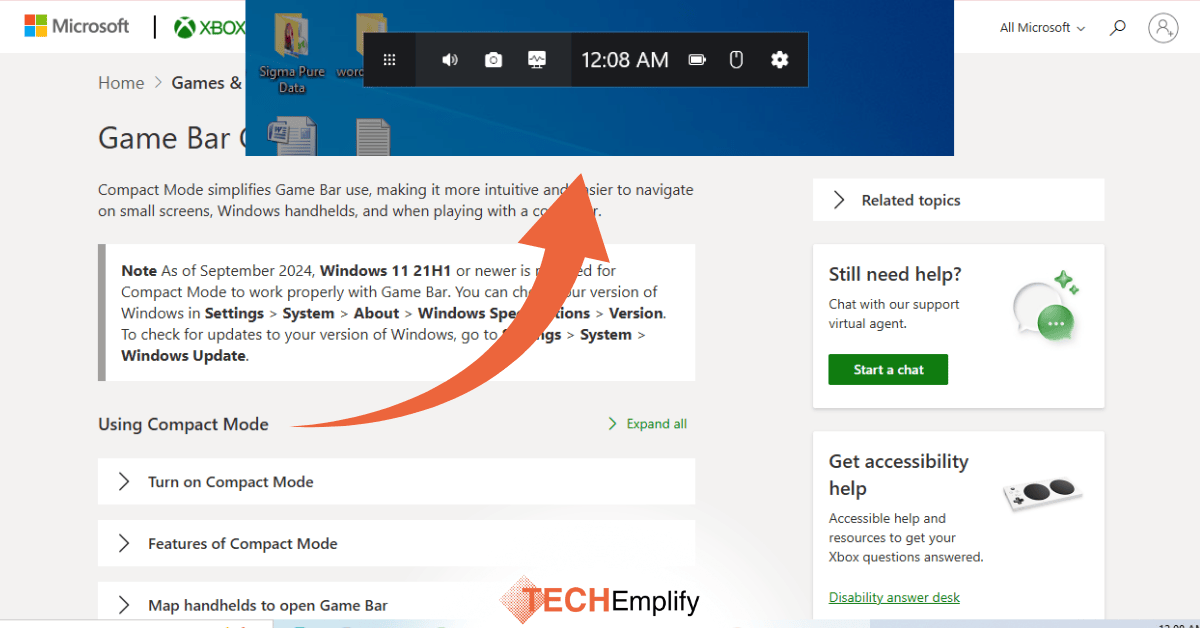
Here is the Process:
- Press Windows + G to open the Xbox Game Bar.
- Press the camera icon or press Windows + Alt + PrtScn.
- Screenshots will be saved in the Video’s sub-folder, Captures folder.
This is helpful for games, videos, or apps running in full screen.
6th Method: On-Screen Keyboard – If Your Laptop Has No PrtScn Key.
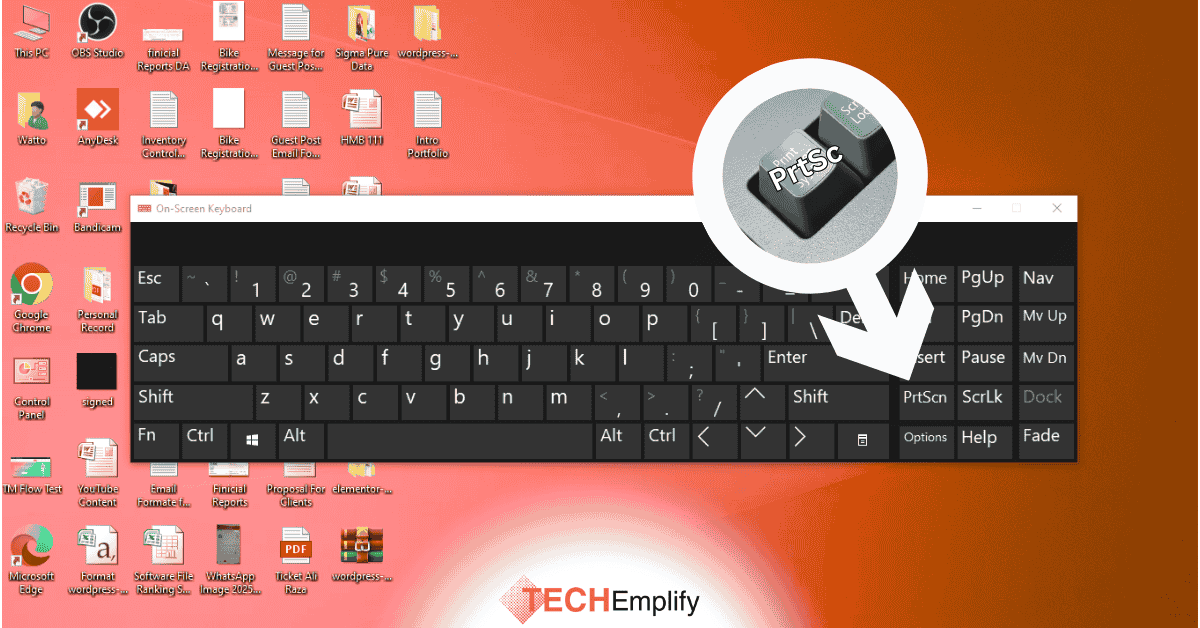
Some laptops do not have a dedicated Print Screen key. In that case:
- Search for On-Screen Keyboard in the Start menu.
- When it opens, press the PrtScn button.
- Paste the screenshot into Paint or another tool.
Useful for Windows laptops without PrtScn.
7th Method: Third-Party Tools
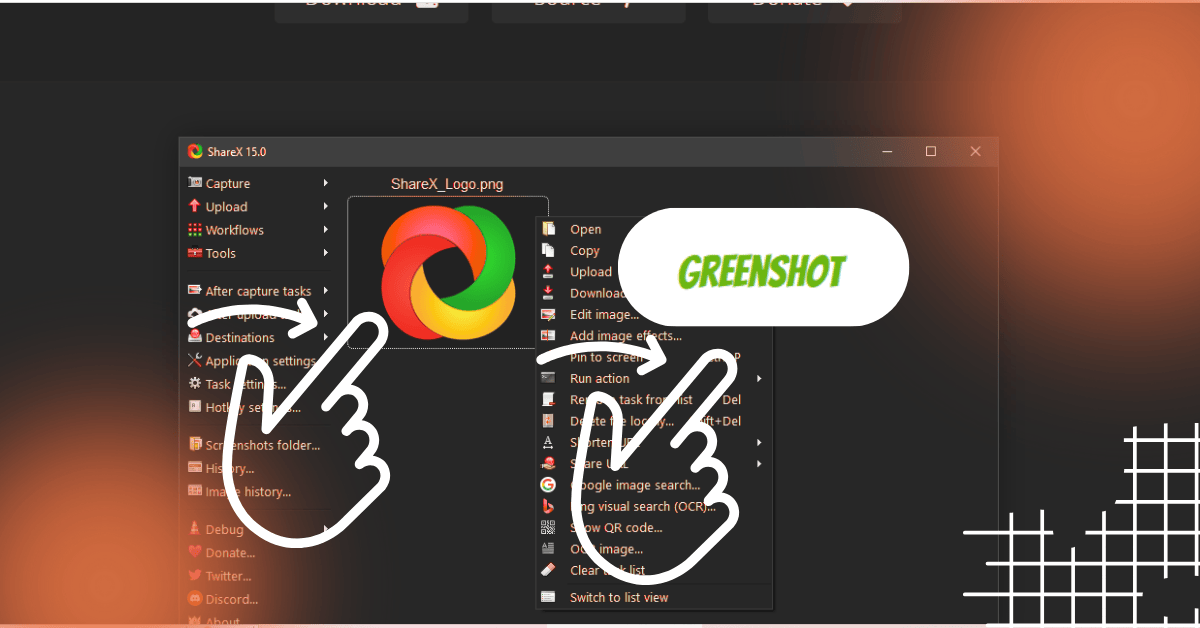
If you want more control, here are two famous tools:
- ShareX: Free to use with advanced editing and robotic uploads.
- Greenshot: Weightless and easy for fast editing.
Honestly, the built-in Windows tools are enough for most users.
How to Take a Screenshot on Different Windows Versions
How to take a screenshot on Windows 11
- Press Win + PrtScn to save automatically.
- Press Win + Shift + S for the Snipping function with advanced editing.
- Use Game Bar for gaming.
How to take a screenshot on Windows 10
- Press PrtScn OR Alt + PrtScn for fast copies.
- Press Win + PrtScn to automatically save images.
- Use Snip and Sketch for custom captures.
How to take a screenshot on a Windows laptop
- Average laptops support the same functions.
- If you do not see PrtScn, check for a Fn “Function” button. Sometimes you need to press “Fn and PrtScn” together.
- If your keypad has no PrtScn button, you can use the “On-Screen Keyboard” process.
The Process take a screenshot on Windows 7
- Firstly, open the Snipping Tool in the Start menu.
- OR press “PrtScn” and paste into Paint.
Most useful Method for you from the TechEmplify Team
- For a Quick and simple Way: Win + PrtScn at the same time.
- If you want to edit or highlight: Win + Shift + S together.
- Still old school, Windows 7: Use Snipping Tool
- Laptop without PrtScn Button: Use On-Screen Keyboard
Final Words
Now you are familiar with the process how to take a screenshot on Windows. No worry about the version you are using. Whether it’s Windows 7, Windows 10, or Windows 11, there is an easy way that works for you.
Screenshots help save information, teach others, or just share something funny with a buddy. And with the built-in Windows functions, you do not require external applications.
So, now you can capture your screen as yourself. Simply use one of the methods described above. Within a second, your screen will be saved permanently.